Showing posts with label Nathan. Show all posts

26 August 2012

Finally done: Drippy Wax Art

Melty crayons are melty!
Several months ago, when I used to use Pinterest, I saw an awesome melty-crayon wax project that I just had to recreate.  I wanted to make something to match my living room - dark wood, teal and tan couch and cushions, brown and tan brick. I started buying about 10 boxes of crayons. And a 2x4 ft canvas.  And I was ready to go!!

Ha! Just kidding. See, I wanted to sort out the colors that I didn't want (reds, pinks, oranges....) and just keep the colors that I did (teal, some greens and blues and tan).  So 10 boxes got me approximately.... 8 inches across the total 4 feet.

So I bought crayons whenever I saw them on sale in whatever craft store I was in. A few months and several pounds later.... I had enough crayons sorted and ready to go.
Close up arty shot

With the help of super glue (hot glue gun didn't hold once we started heating), plastic tarp, and a heat gun, I present melty crayon art!

Nathan and I team-peeled the paper off of all of the crayons by slicing the paper lengthwise with a razor and peeling the paper quickly.

We spent a long time lining up the crayons and adding highlights and low lights and shifting things around back and forth and making it just *so*...

We super-glued them all down and blasted them with hot air and let them drip down.

Fabulous success. Now I just need to resist the urge to touch it and pick at it.  Good so far!

08 July 2012

Kitchen Curtains

Upholstered cornice, completed, and hemmed panels.
The window over our sink in the kitchen has exposed plastic conduit for wires and things that Nathan really hated. He asked me to make up some curtains, so we plotted about what style and type would look best for the space and what would actually be reasonable to make.

We went to Joann's and looked at some books about making window treatments and decided that we wanted to use a cornice with some panels hanging on the sides. There were some make-your-own kits, but they were crazy expensive. Since the window was small, we didn't need anything elaborate or extravagant so we decided to make our own basic panel from scratch.

Nathan made a simple rectangular cornice form out of old wood (plywood) from the garage and just used some batting and a staple-gun to softly upholster the blue & white fabric we chose. I had some old white & taupe striped breezy fabric leftover from making curtains for my bedroom when I lived in St. Louis in the 2004-2007 time frame. The panels I had were already cut and even hemmed on one side, so I just game a quick hem around and cut them to length.

Et voila! Except they aren't yellow in real life.
Since we wanted to keep the length of the curtains flexible in case of moving to a new place, etc., we didn't actually hang the panels from a traditional curtain rod, instead we left them as big rectangles and used hidden hooks inside the cornice to baste the panels at the correct height to the wood itself. If we move, we just snip the thread and can iron and re-hang at the best height. This also allowed us to bunch the curtains in the corner/edges of the cornice to make sure that we were covering up the conduit that Nathan hated... we didn't care if we could close the window, this was just decorative camouflage.

They've been hanging a few weeks and we love them!


04 July 2012

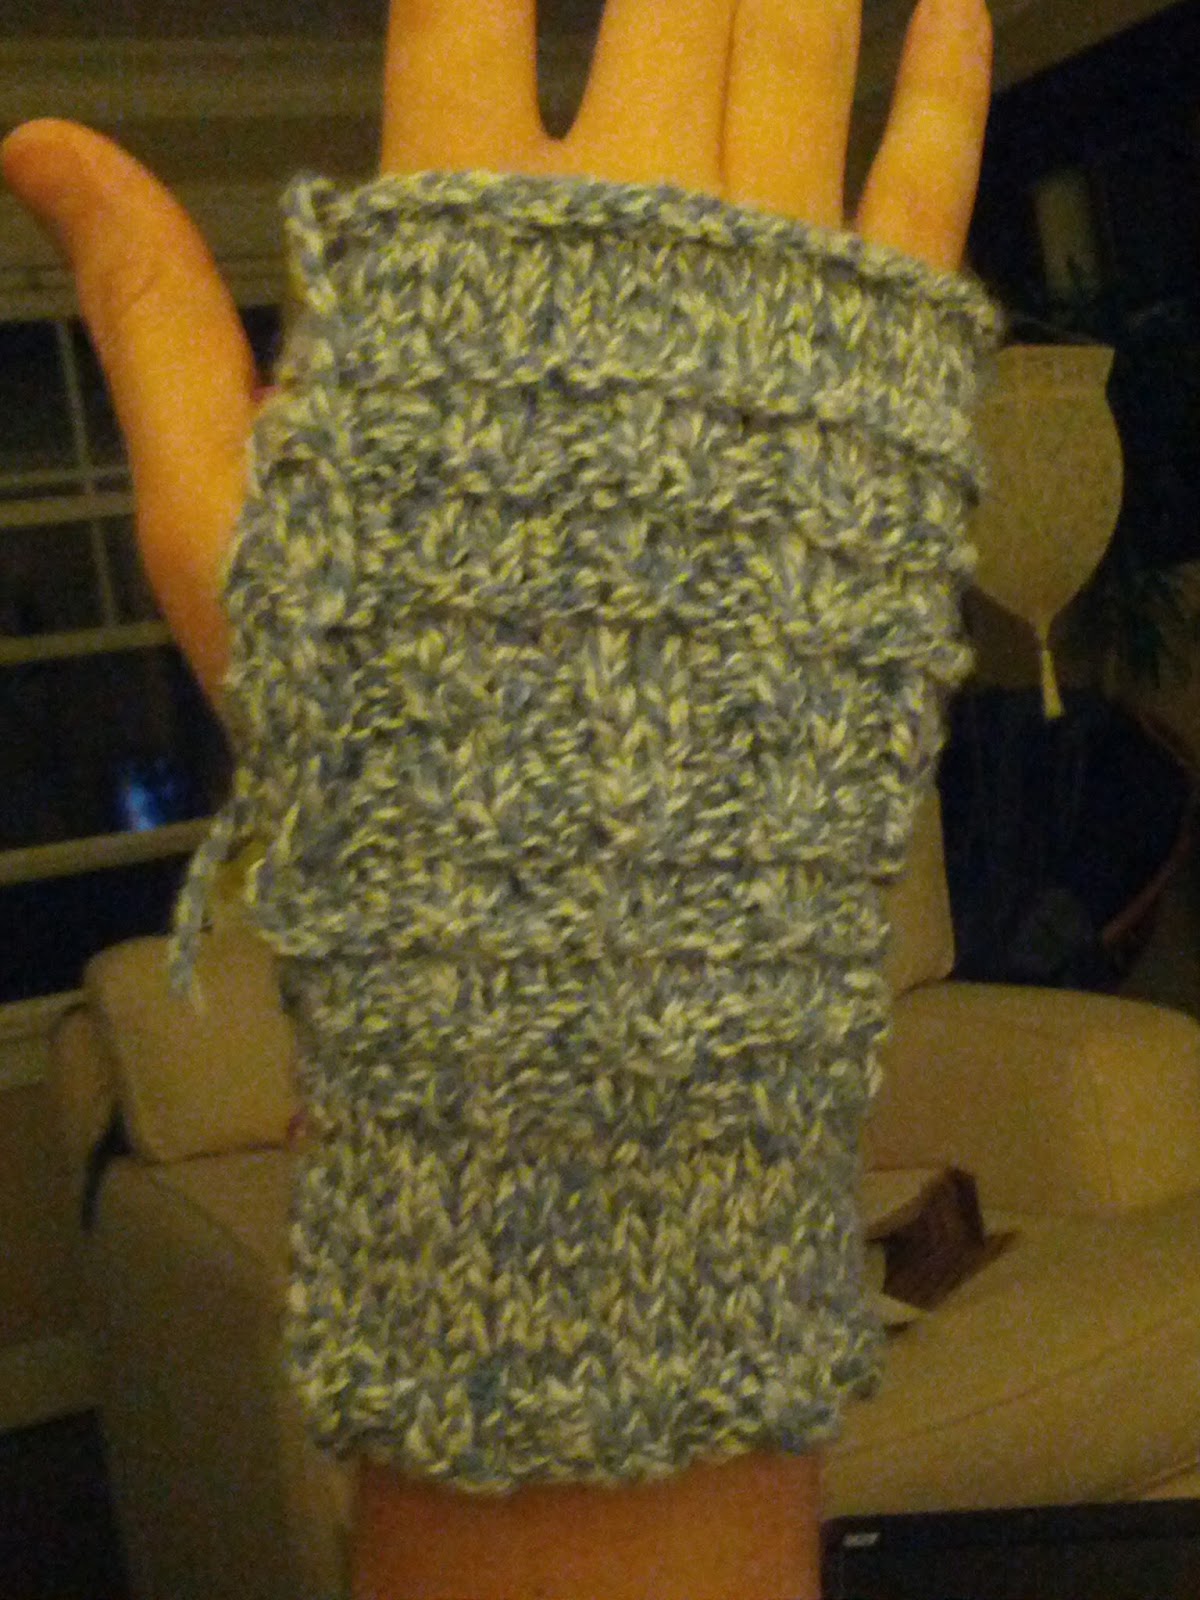
Finished! Nathan's Fingerless Gloves

Button-pushing can reduce blood circulation
They are finally finished!
Today, in the comfort of an air-conditioned room, I finally finished knitting and then seaming Nathan's fingerless gloves.

I learned quite a bit along the way, not the least of which the importance of counting rows and also the importance of not just changing things a bit so the length adds up. (I had 2 rows of knit, followed by 4 of stockinette on the 2nd piece, but since it was a little longer than the 1st piece I decided just to knit one row before starting the stockinette.... and so I have the dashes ----- of purl on the right side of my piece instead of VVVV's from knitting.)

In general, the 2nd piece looks a lot better - more even and slightly looser stitches and more control... with the exception of my personal modification, above.

I used mattress stitch to seam these up and pulled about 2 columns in to make them a little tighter.  When I cast on, I added 4 stitches to make them Man Sized, but when all was said and done they didn't have the negative ease required of a stretchy wearable.

Nathan says he likes them.... so yay! Birthday present and/or Christmas present!!

02 July 2012

Ice Cream: Coconut cherry rose

Coconut, Cherry, & Rose Ice Cream
Oh, Summer... one of the best things about this season is that cherries go on sale. Sometimes, in the memories from childhood, they are as chap at 99-cents-a-pound. Othertimes, though, like last week at Marc's, they were $1.99/# and that's almost as good.  Also: I never need an excuse to make or eat ice cream, but if I needed one then Cherry Season is it.
Mid-layering
Several years ago (Ahem: 2009) I found a recipe on Tartelette's blog for Cherry, Rose, and Coconut Ice Cream and I've been making it at least annually ever since.

I'm not going to post the whole recipe here since I don't even adapt her recipe (I just copy it outright) since it's so freaking delicious.
Layered and ready for the hard-freeze

I will leave a few tips:
- It is always appropriate to mix 1 cup each of sugar, cream, milk, and coconut milk and warm it up until the sugar dissolves and then to freeze it. And eat it.
Our cast!
- If you make this, make sure you use food-grade rosebuds. I last picked them up (for really cheap, honestly) in bulk from the Food Co-Op on Euclid near Mayfield... but now that the location's closed I don't know the next place in the area to look. Whole Foods? Mustard Seed Market?  Gosh... what am I saying...  just order it online.


Holy Moly. So delicious. Fresh, sweet cherries w/roses and sugar.

14 June 2012

Dinner: BBQ crockpot chicken & slaw

Last night I made dinner. I had BBQ pulled chicken in the crockpot, macaroni and cheese from a box (natch... the kind with a cheese sauce packet, for Nathan, even though I prefer the powdered kind), vinegar & oil coleslaw, and some slices of homemade bread to make sandwiches.

Delicious.

No photos, because I forgot. 

Worst post evar? Maybe... but I wanted to keep some sort of rhythm.

09 June 2012

Halfway there: N's fingerless mittens

Yesterday I had my only final for the Spring Term. It was online and there were true/false, a few short answer, and some multiple choice. I studied hard and think that I did well, but I'll have to wait and see. In addition to this, I worked on homework assignments and team paper writing and more studying... gah!

After all that work I needed a break!  Fortunately, I had my beloved Netflix subscription and a documentary that I've been wanting to see, Word Wars, was available!  What does this have to do with anything lovingly handcrafted, you might wonder?

A fingerless mitten! Pinned up the side for testing.

This!

I finished the first of two fingerless mittens for Nathan. Now, this one is just pinned together up the side to check the size so it's not finished.... but I'm so happy and it looks great.

It has a few rows of waffle-y stitch at the bottom with a stockinette cuff, then more waffle for the main hand portion and it it topped with a little stockinette band at the fingers. 

I'll wash it, block it, then sew it up the edge leaving room for the thumb and then I'll get to start a new one.  The big question: should I cast on the 2nd piece now... or wait until I make my momma a dishcloth in blue? 

Decisions, decisions.

05 June 2012

Cast on: Fingerless gloves/handwarmers

So, after finishing my dishcloth I was eager to start something new. I owed my mom a dishcloth, but I was waiting to hear what color she wanted to match the kitchen, so I wanted to wait.  I also want to make a lovely shawl or sweater or something but since mom is sending me some of my Oma's old needles, I wanted to wait and see what sizes I get (and maybe circular?)  And I didn't want to buy anything.
Nathan's hand warmers. Look! Waffle stitch on the right!

Fortunately, I had a bunch of yarn that was gifted to me from a friend when she moved out of the Cleveland area that has just been sitting in a cabinet, not being used.  I pulled out some Bernat Denim Style (cotton, acrylic blend) and searched ravelry for a beginning pattern that's knit on straight, size 7 needles that won't use too much yarn (I only have 1 skein).  Ta da! Knit flat and then sewed up later, I have a simple, free pattern to start on a set of hand warmers for Nathan.

I am doing okay, but a few kinks:
- This called to cast-on 36 stitches, but since Nathan has Man Hands I added an extra 4. I'm sort of concerned that this will be too big and it won't have enough stretchy part to fit. I think if this is the case, I'll just sew these up with an overlap and maybe add some decorative-type buttons.
- For the waffle stitch, I have to knit 2, purl 2 over and over along the same row. I am a little confused since the working yarn ends up on the wrong side when I switch from knit to purl (and vice versa)... but I've just been bringing the yarn over to the other side under my needles. I guess it looks ok? But I don't know if this is right.
- I don't know if I'll want to make a second one after I finish the first. Always a threat with me. :)

I'm really happy with how it looks so far. I have nice little "V"s on the front and cute little dashes on the back... and my waffle stitch at the bottom is so waffle-y!

Yay!